Tuesday, November 30, 2010

Christmas Countdown Frame

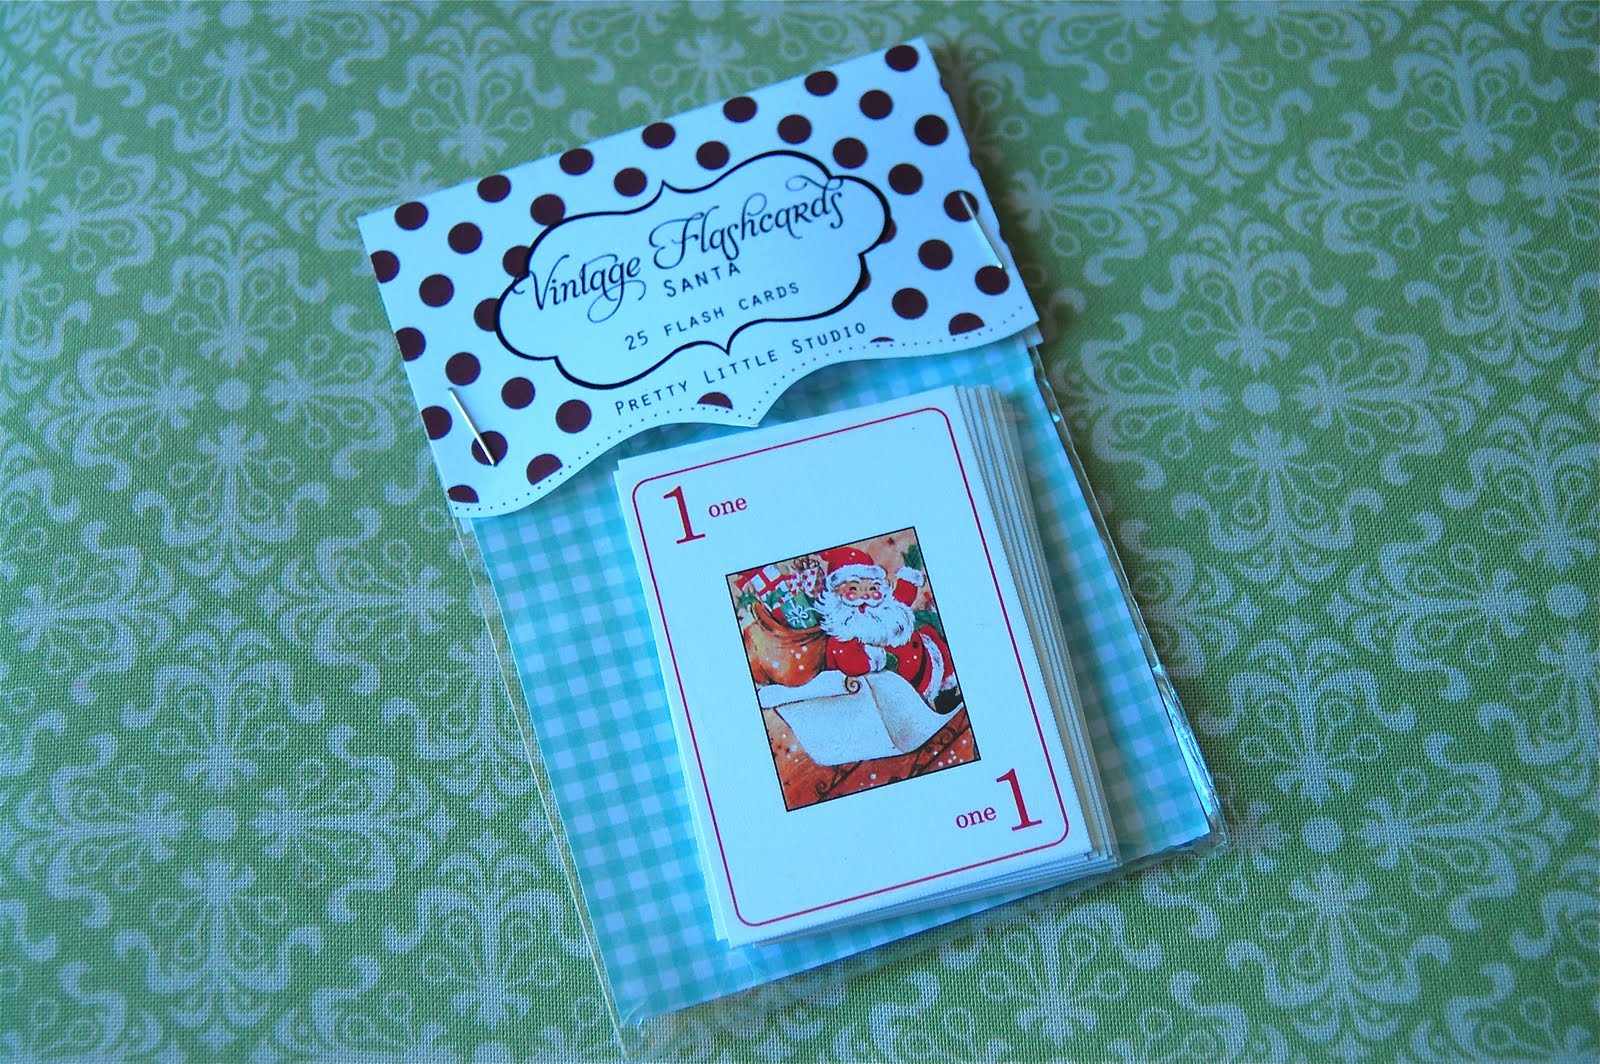
My sister bought me these adorable vintage santa flashcards from a super fun Etsy shop called Pretty Little Studio. You won't believe all the adorable goodness that is in this shop! I was giddy over these cards and it didn't take me long to figure out what I wanted to do with these little guys.


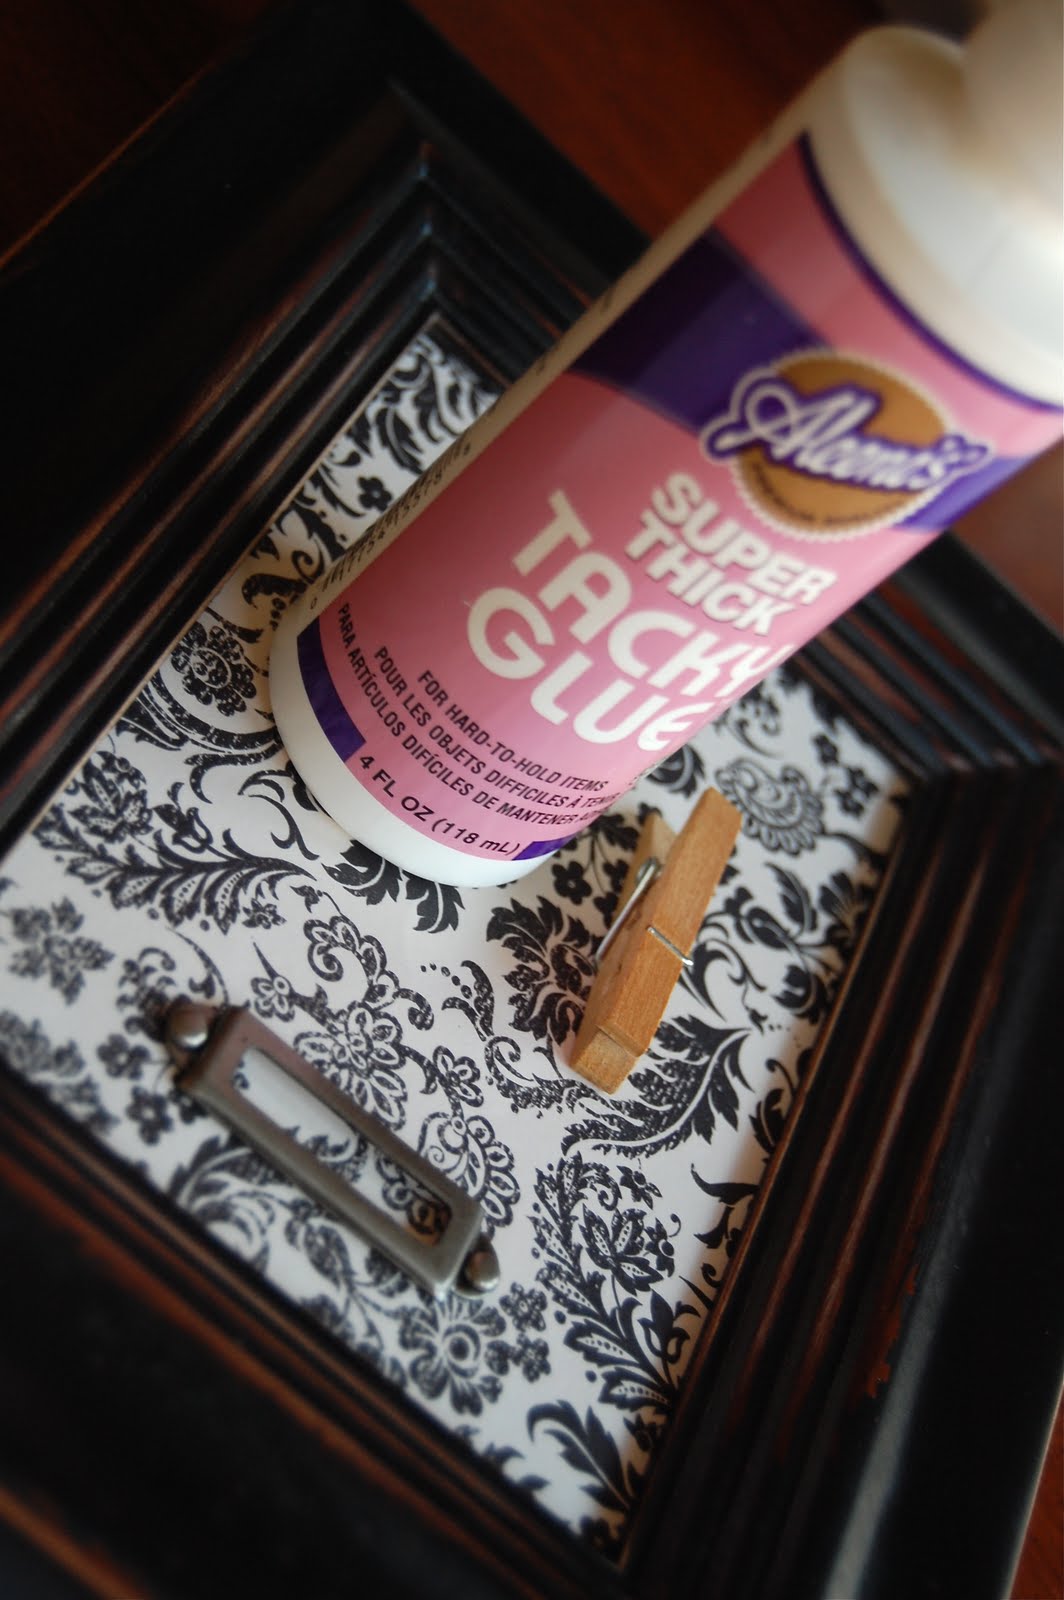
I took a frame from the toy shelf that was spray painted black and sanded on the edges and knew it would be just right for this project. I found some scrapbook paper that I love and cut it to a 4 x 6 size to fit the frame.


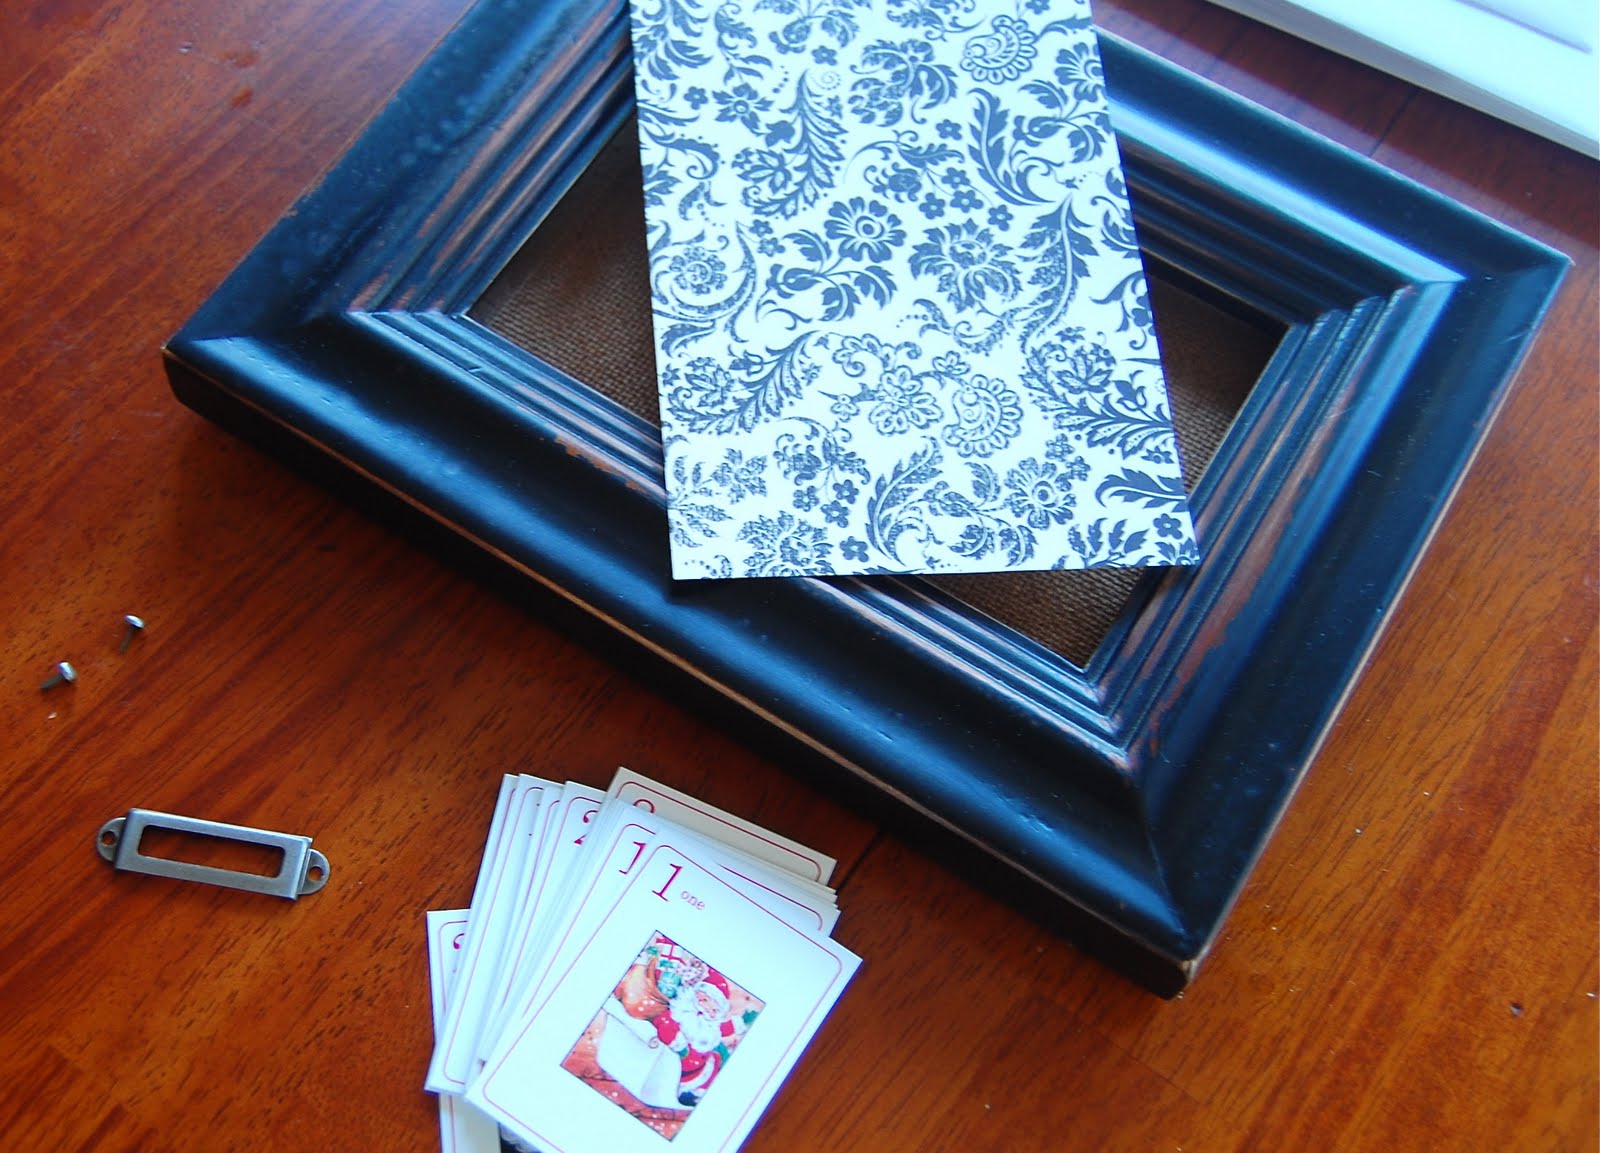
I used a label holder and two brads from my poor neglected scrapbook stash. I popped it in the middle at the bottom of the paper.


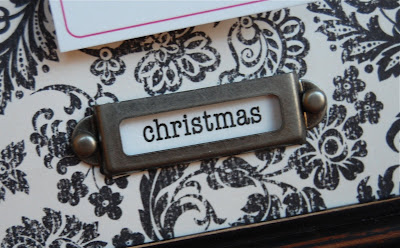
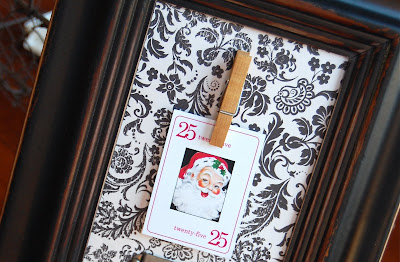
I then typed and printed off a little christmas label from the computer and stuck it in.


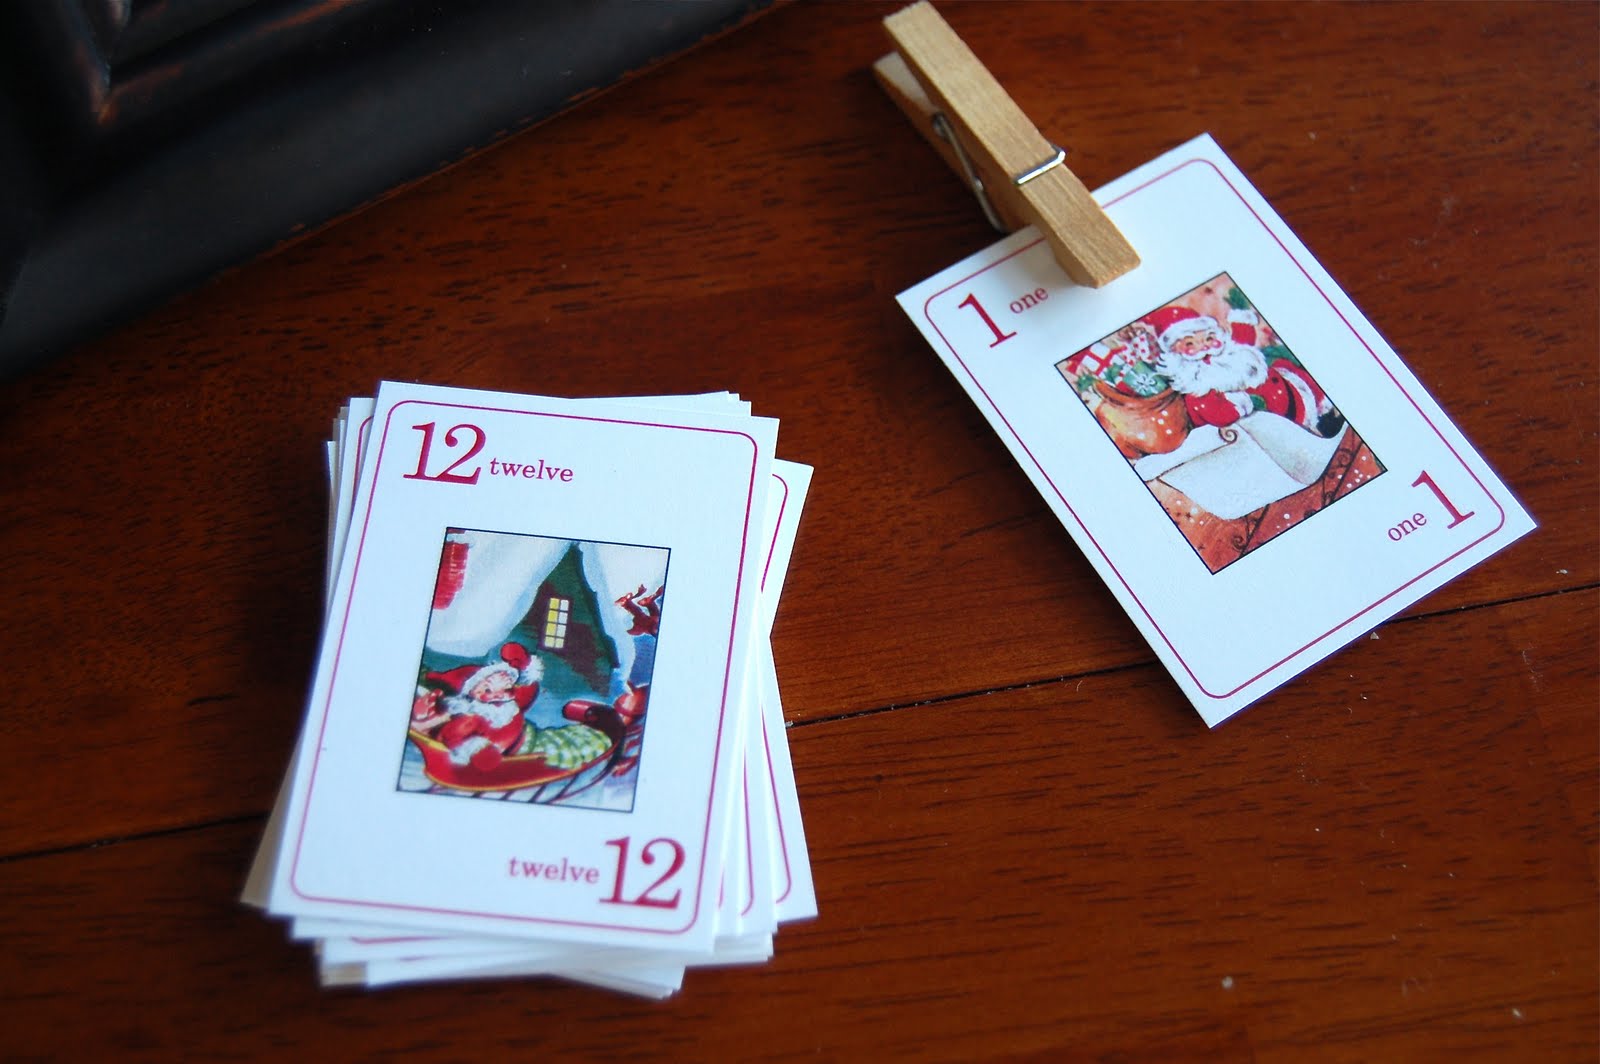
I found a mini clothespin and knew it would be just the right thing to hold the cards in the frame.


I got my craft glue out to attach the clothespin to the paper.


I enlisted some help to do the gluing.


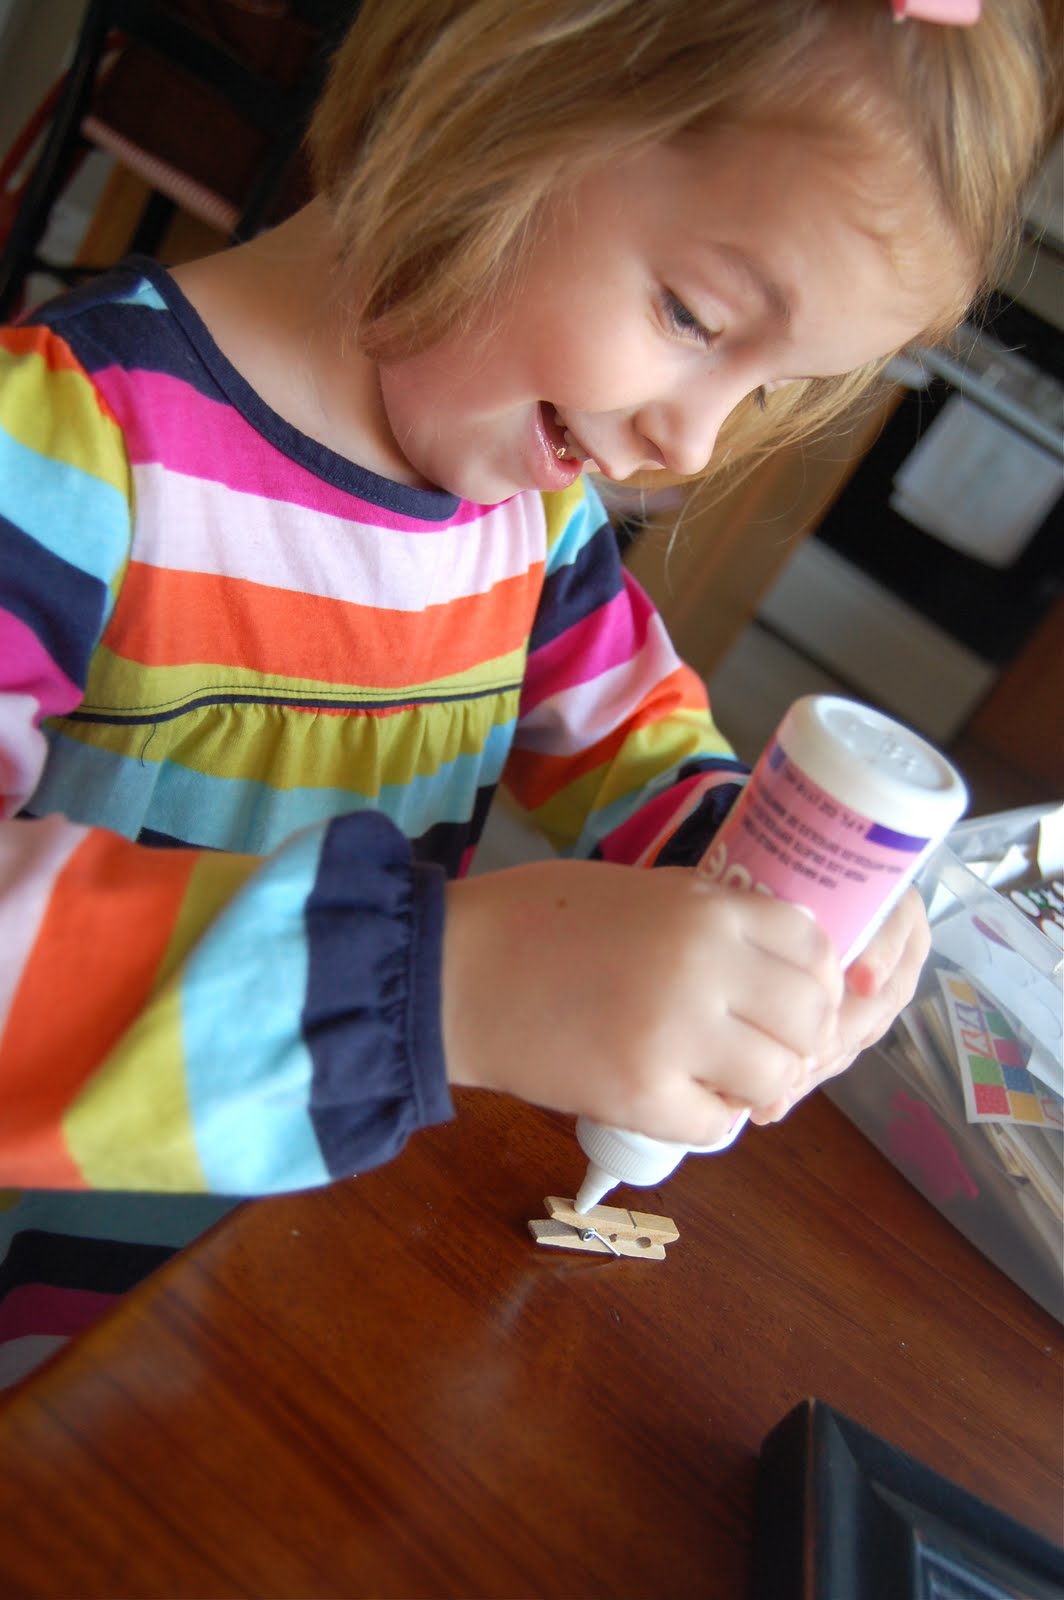
And then attached it to the paper.


Now what to do with the rest of the cards while they are not in use?


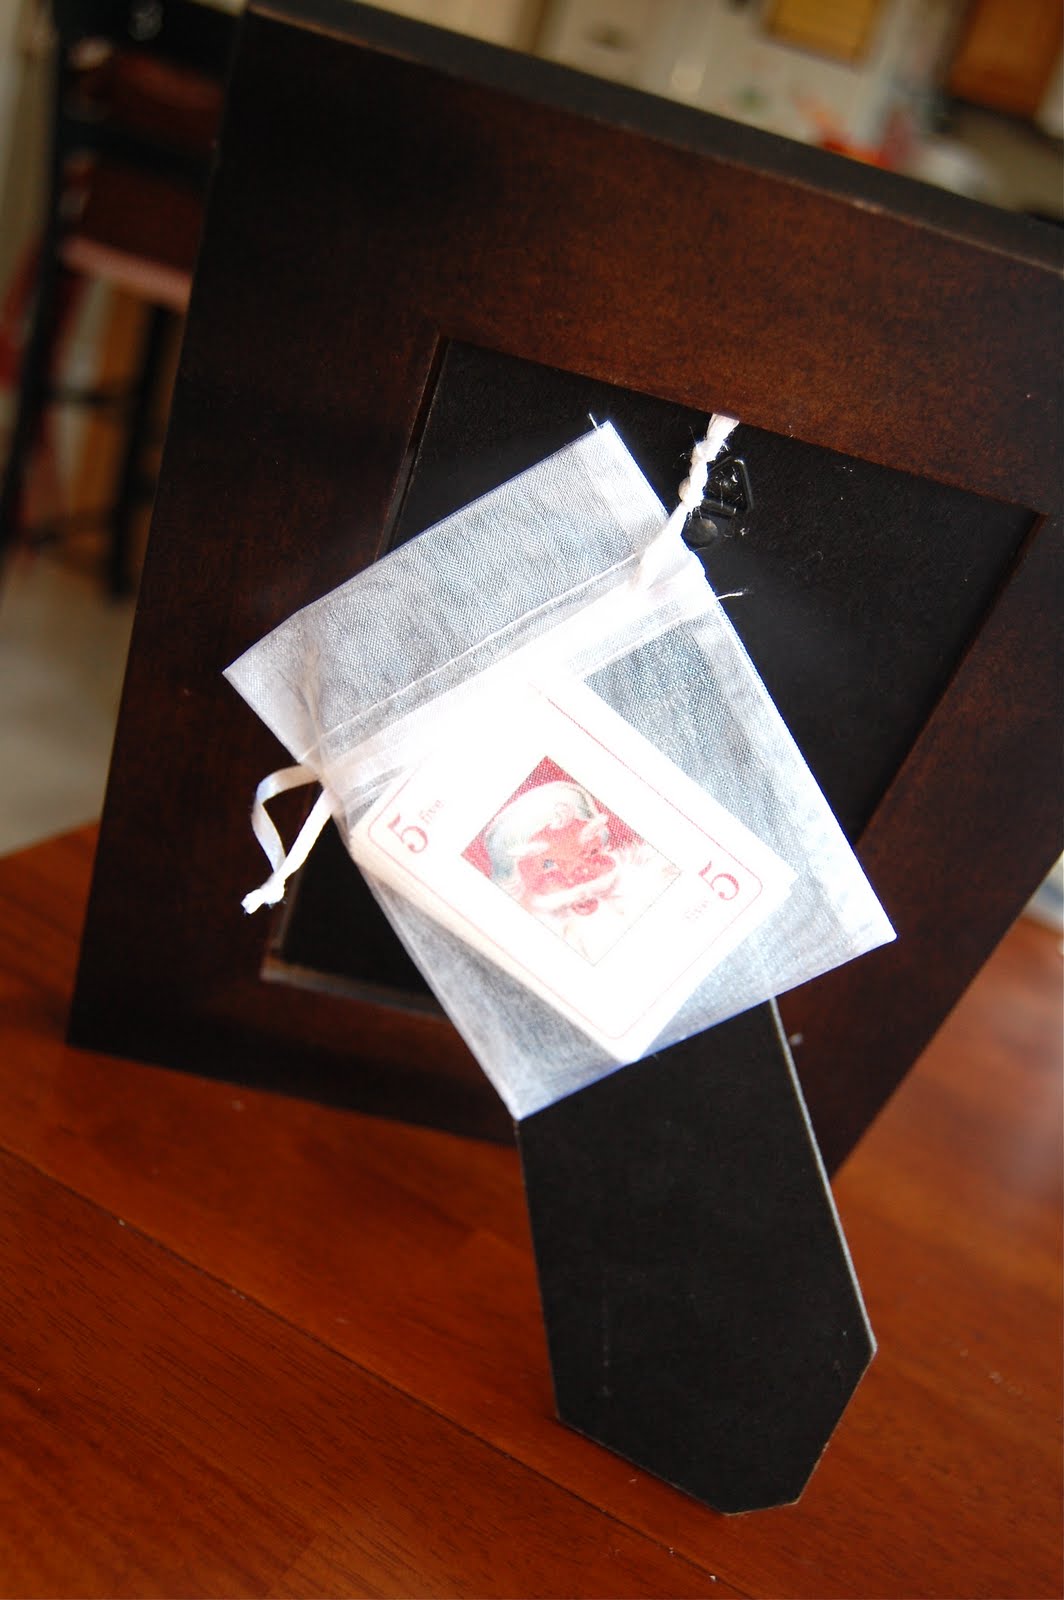
I searched the house and came across this little white jewelry bag. It was just the right size to hold the cards. This is why I don't throw little containers or bags away. You just never know when they might come in handy.


I simply tied it onto the hanger on the back of the frame so it would be easy access each time we needed to switch cards but would not be visible from the front.


And now we have a fun and festive Christmas countdown that the kids will LOVE to change each morning.


And after Christmas, it can be stored away with the rest of the goods and pop a picture back in the frame. Such a quick and simple way to have a Christmas countdown.


I'll be joining these parties this week!

Visit thecsiproject.com
Photobucket

Thanks for stopping by! Happy Tuesday!

Read more...

Monday, November 29, 2010

Twine Christmas Cone Trees

Picnik collage_thumb.jpg

Last Christmas I was going crazy over those cool cone-shaped trees that they sell a variety of at Target, but couldn’t bring myself to spend $40 for one. So I decided not to, I'd just make them! I went a little Christmas Cone Crazy making a bunch of different varieties, as you'll soon come to see.

I started off with the materials shown below. I initially mixed glue with water and used this to harden the twine, but it wasn’t quite strong enough to keep the shape that I was looking for.

2009_11_16_4210_thumb.jpg

So I got some of this stuff to use instead, (I know, I know), and it works MUCH better.

2009_11_20_4312_thumb.jpg

I wrapped the cones in parchment paper and secured it with pins, and then wrapped the soaked twine around the cone in a crisscrossing pattern, wringing it out a little at a time as I went. IMPORTANT NOTE: If you want to make sure that your cone is structurally sound, you'll need to do lots of crisscrossing. This ensures that each piece of twine has another piece to help support it.

2009_11_16_4217_thumb.jpg

You'll also want to make sure that your bottom strands are straight all the way around the base, or your Christmas trees may end up with a little gangsta' lean going on.

2009_12_03_4572_thumb[1].jpg

Once I was finished with the twine, I put green raffia in the stiffener and wrapped it around the cones as well, just for a little color and a different texture.

2009_11_17_4222_thumb.jpg

Once all was dry (I usually left it overnight), I used a knife to separate the parchment paper from the cone, peeled the paper away from the twine and here is the end result!

2009_11_30_4530_thumb[1].jpg

The best part about making trees this way is that you can make several trees using only one foam cone as the mold. I wanted to try out a few different things, so this let me experiment on the trees without “using up” one of the foam cones, since they are kind of expensive. I have a plain pair, and this pair that has just a few tiny berries hot glued on in various spots.

2009_11_30_4533_thumb[1].jpg

Another set I spray painted white, sprayed with glitter, and then hot glued on these larger berries.

2009_11_30_4546_thumb[1].jpg

This one I actually used the little cone for (I had two, so I was willing to lose one of them). I spray painted the cone and the twine separately, hot glued the twine onto the cone, and capped it with (of course) little berries.

2009_11_30_4543_thumb[1].jpg

I even made one for some Valentines Day decor.

2010_01_29_6167_thumb1.jpg

What do you think? Not to shabby, right? I love these. I made tons of them all December long and then gave almost all of them away as gifts. Which means I get to try out some new options this year. :)

If you love these but don't feel like the hassle, I also have short and tall versions available in my etsy shop here.

il_570xN.141068828.jpg

As always, I'll be linking to these lovely parties. Have a great week!!


E1025F317CFB5B8E9E5C526E5CC0F475 copy.png

Read more...

Friday, November 26, 2010

The Perfect Girly Gift

For this week of gift giving at Lemon Tree Creations I wanted to share with you a simple and inexpensive, yet fun gift for your favorite girly girl.For this jewelry set, all you need is your favorite thin ribbon, hair clasp, pearl beads, elastic and non elastic beading thread, a needle and some bling.First, I made the bracelet to practice. I wanted to know what I was doing when I got around the necklace. First, I threaded the ribbon, then alternating ribbon and pearl, accordion folding the ribbon as I went. (So now that it is obvious that I don't know exactly how to write the perfect tutorial for this...here are some pictures!)Next, I made the necklace using the same method, except I left the ribbon ends long at each end to tie the necklace with.Finally, I made a hair clasp that could clip onto the necklace, or be worn separately. For this I cut 5 strips of ribbon, but only used 4, and hot glued them into mock bow shapes. Then I hot glued them together in a circular pattern. To finish, I glued the crystal bead onto, and the clasp onto the back. Voila! That easy.
Together, the pieces make a perfect pair. What little girl, or grown girly girl, wouldn't love this set in her life? I originally made it as a little gift for my 2 year old Lola, but am already coveting that necklace for myself!What homemade Christmas gifts have you come up with this year? I'll be linking to these parties and hope you will too!

Happy Friday, hope you had a fab thanksgiving!

Read more...

Wednesday, November 24, 2010

Gift Idea: Restaurant Play Kit

The year of the movie theater play kit was also the year for my other niece to receive a restaurant play kit. Oh, what fun memories!

Avery had three birthday parties in three weeks this fall so I had to come up with some fun and easy on the budget gifts quick. The two boys recieved a movie theater kit and the girl got this restaurant kit.

I started off with the same canvas bag and got to use pink this time for the name (she happens to live across the street and have the same name as my big girl). Oh, how I love me some pink!


Included in this kit were some pink napkins tied up with ribbon, personalized restaurant menu, nametags, sales book and apron.


The sales book was bought at an office supply store and the napkins at Target.


I typed the menu on the computer, printed it, and had it laminated at the same office supply store where the sales book was purchased.


I used the nametag holders from my teacher stash and included one for the girl and her little brother.


And this time I actually made the dress up part myself. I had a bunch of fun fabric scraps that I used to create this apron. I do not have a tutorial on how to make this because I was completely winging it. I had no idea what I was doing. It came out looking somewhat like an apron so I was satisfied! I used more iron-on transfer paper to put a monogram on the pocket of the apron because every girl loves a monogram, right?


And then I finished it off with a personalized label.


I had so much fun with these play kits! Of course you could really add a lot to the restaurant kit such as play food, dishes, oven mitts, potholders, store signs, etc. I can't wait to make more!

These gifts are sure to be hits at Christmas and Birthdays! If you make a play kit for a little one in your life, please share it with us on Flickr! We would LOVE to see your fabulous ideas and interpretations!

Happy Thanksgiving! See you next week!

Read more...

Tuesday, November 23, 2010

Gift Idea: Movie Theater Play Kit

I have tried to come up with every kind of play kit you could imagine and never thought of a pizza shop! LOVED that idea, Erin! So creative and perfectly cute!

My high school job was selling tickets at the local movie theater. So when my nieces were younger (one of them is a senior in high school now - boo!) I made them a movie theater play kit for Christmas. It was one of my favorite gifts to give and it sure was fun to play with them.

Now several years later, the movie theater play kit has been reinvented and used as birthday gifts for my Avery's little friends.

This play kit can be done for $10 or under. You could probably make it as cheap or as expensive as you want depending on how crazy you want to get with it.

I started with a canvas bag from Hobby Lobby. I used my trusty iron-on transfer paper to personalize the bags with their names.


I searched for appropriate movie poster images, printed them, and had them laminated.


In the bag were also some cardboard popcorn holders bought in the party section at Hobby Lobby. I purchased a roll of tickets at Target and some microwave popcorn. I had some nametag holders leftover from my teaching days. I printed off paper that said "my name is" and included one for the receipient of the gift as well as any siblings.


I asked my Mom to make a vest to add to the kit so the child could really play the part. (One of these days when time allows, I will learn how to do this part myself! Ha.)


I finished it off with a label printed on the computer so the parent would see what it was meant to be.


This gift usually needs explained at first but always ends up being a hit, especially the tickets!

I will be linking to these fun parties this week!

Thanks for stopping by! See you tomorrow with another fun gift idea!

Read more...
Related Posts with Thumbnails