
The Anti-Diaper Bag
Today's tutorial come to you from Larissa over at Just Another Day in Paradise.
Larissa has a fun blog full of tutorials, recipes, parties and other goodies. She's a momma of 3 boys, who are obviously regulars on her blog and often the inspiration behind some of her great projects. She also makes magic with felt as you'll see below. I fell head over heels for this adorable Old MacDonald Felt Puppet tutorial, which you can see here with patterns, and this fun Felt Fishing Set here. She also hosted a great Christmas in July party last July, which you can still take advantage of by visiting this link.

As a non-diaper bag carrier myself, I was so excited to see this tutorial! Thanks Larissa!!
Hi Lemon Tree Creations Readers! Let me introduce myself real quick. My name is Larissa. I am an all around must create and make things beautiful, part-time meal maker, full-time mess cleaner up-er, and only partially crazy Momma to three pretty darn handsome Little Men. I share my addictions hobbies, recipes, and daily escapades over at my blog Just Another Day in Paradise. I do hope you will stop by and say hello and stay awhile. I look forward to meeting you.
Today I am so happy to be helping out Erin while she rests with her new sweet little one. I don't often get to create something in any hue found somewhere on the girlie spectrum. I was so excited to celebrate Erin's baby and make something using pink.
It is not a secret among my friends that I am not a diaper bag carrying Momma. I much prefer carrying a big ol' purse and just cramming baby essentials inside. While my method allows me to carry any fashionable purse I want, I am often scrambling to find whatever I dumped in for my sweet baby. You can imagine how horrible I feel when the diaper made it in, but somewhere the wipes got lost. Then there is the time that baby explodes and the extra outfit is chaotically spread throughout the bottom of afore mentioned HUGE purse and all I can find is a sock and tee. Oops.
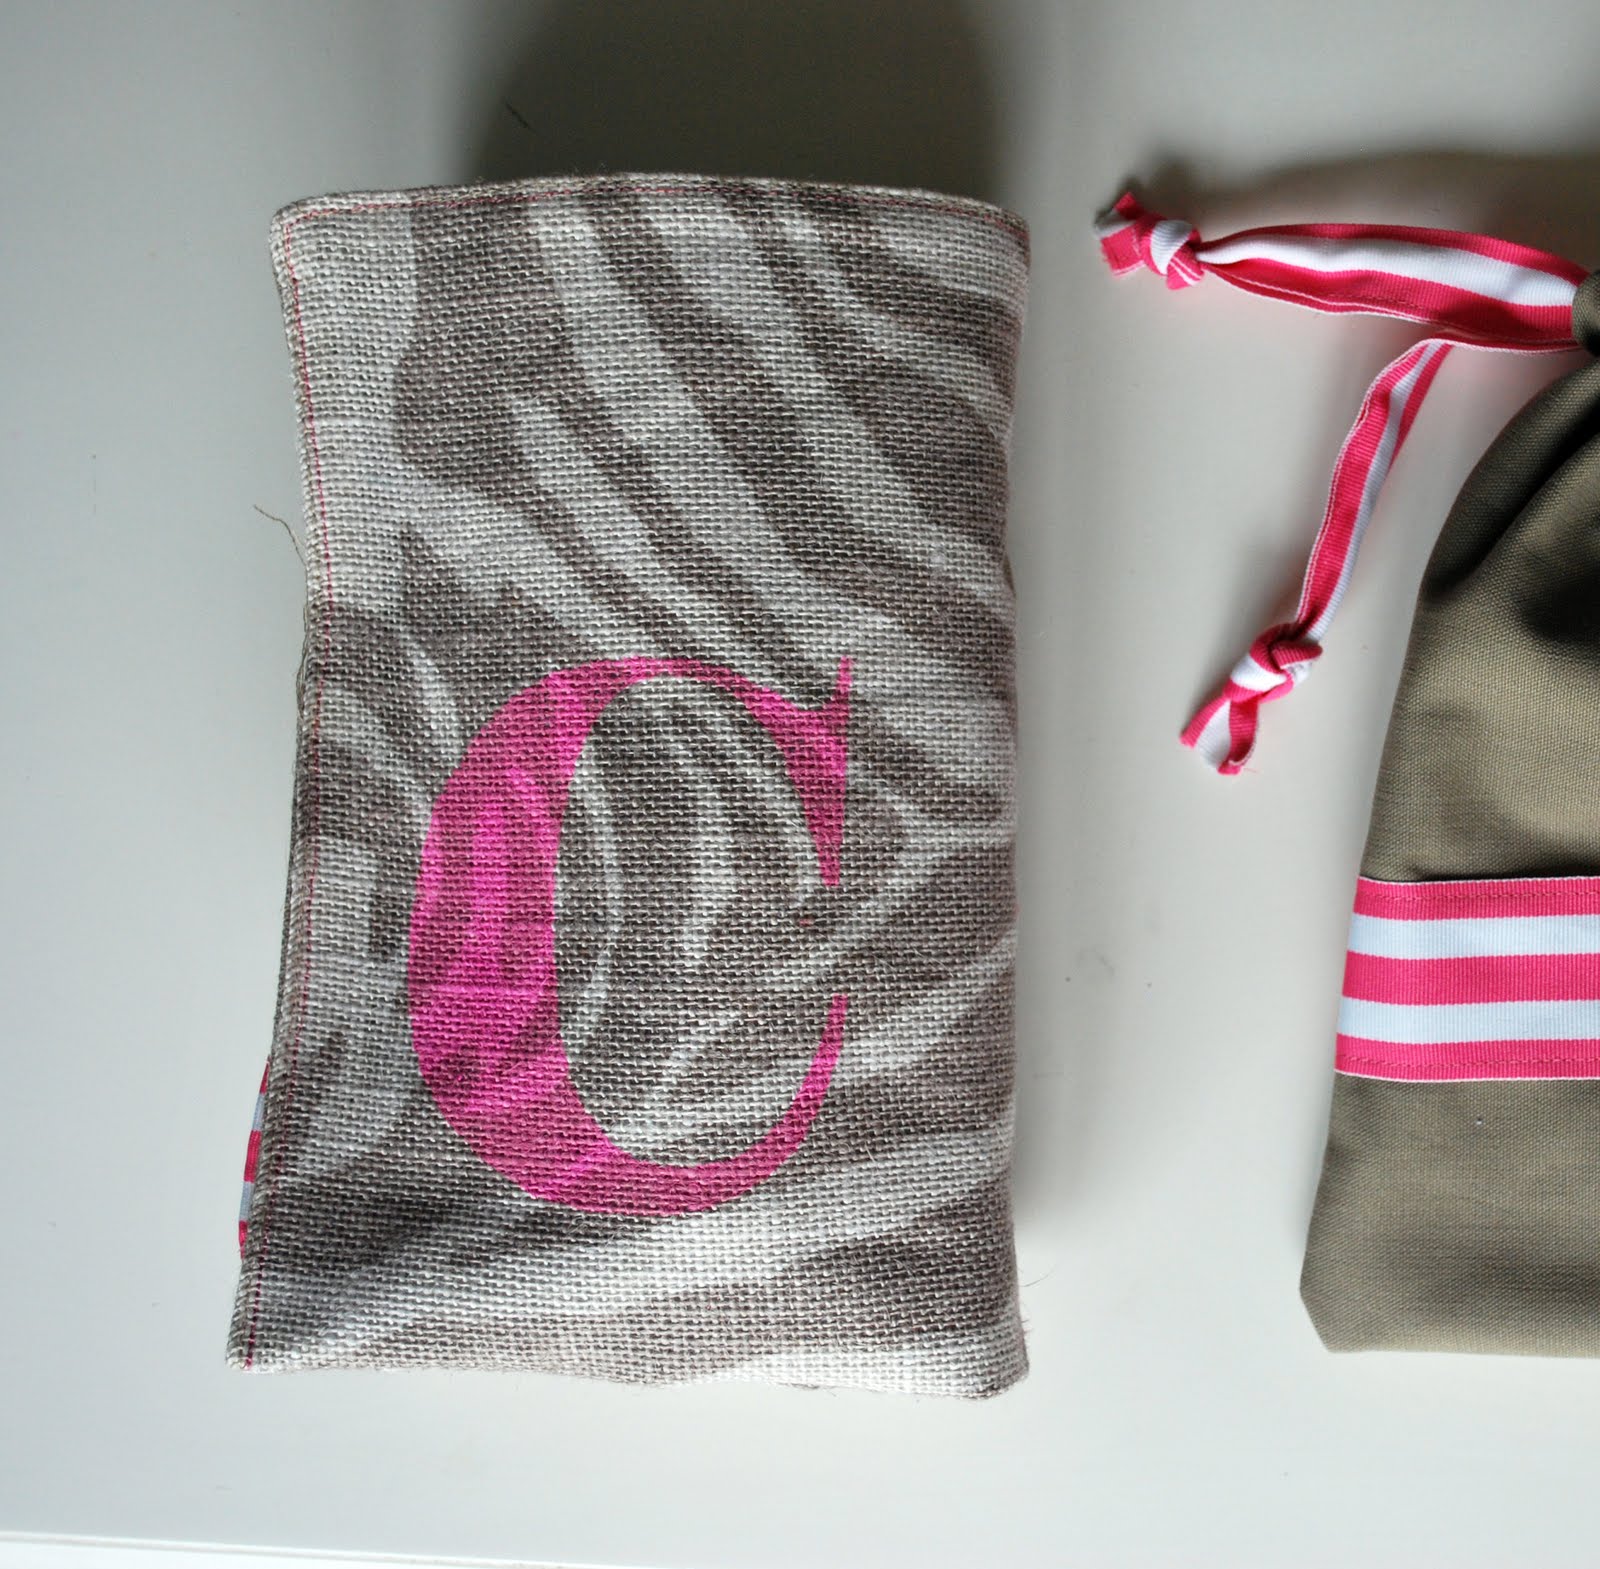
Today I have the answer for all non diaper bag Mommas...or the answer when you don't need a fully stocked diaper bag anymore. Let me introduce the anti-diaper bag.

The anti-diaper bag is made up of a diaper carryall case and a change of clothes bag.
Today I am going to share with you guys the diaper carry all case tutorial.
Here is all you will need:
1 cloth, lined place mat...yup I said place mat
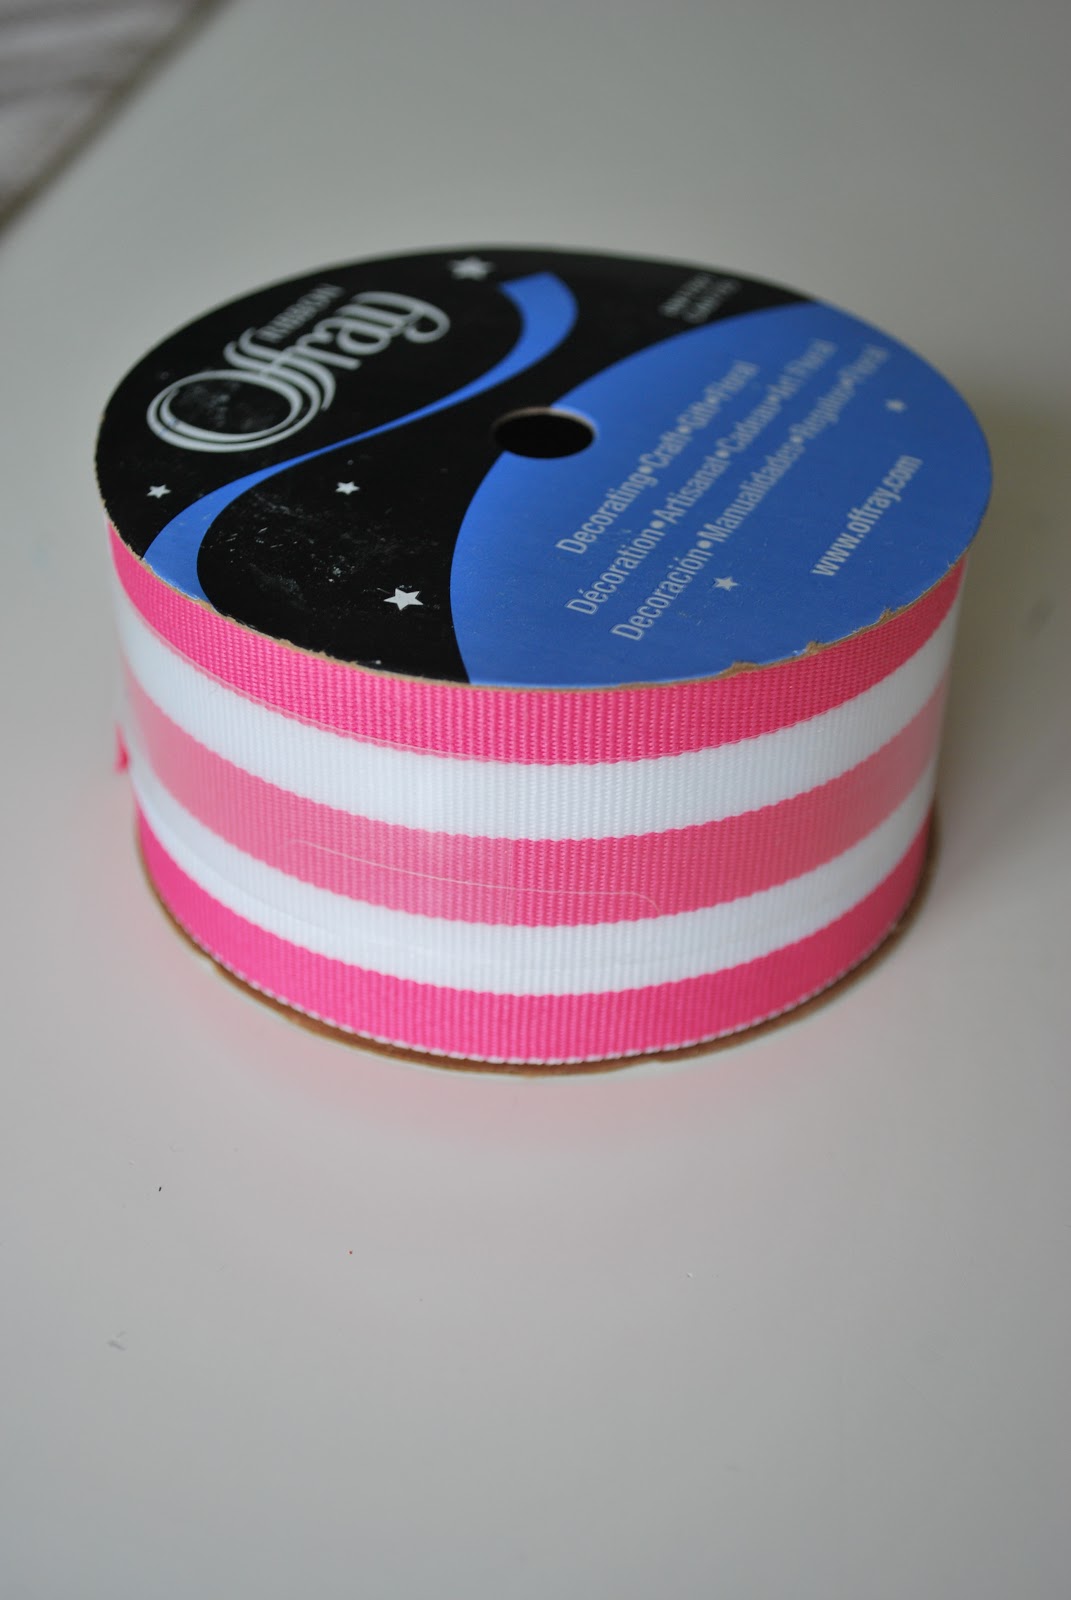
coordinating ribbon
coordinating acrylic paint
velcro
thread
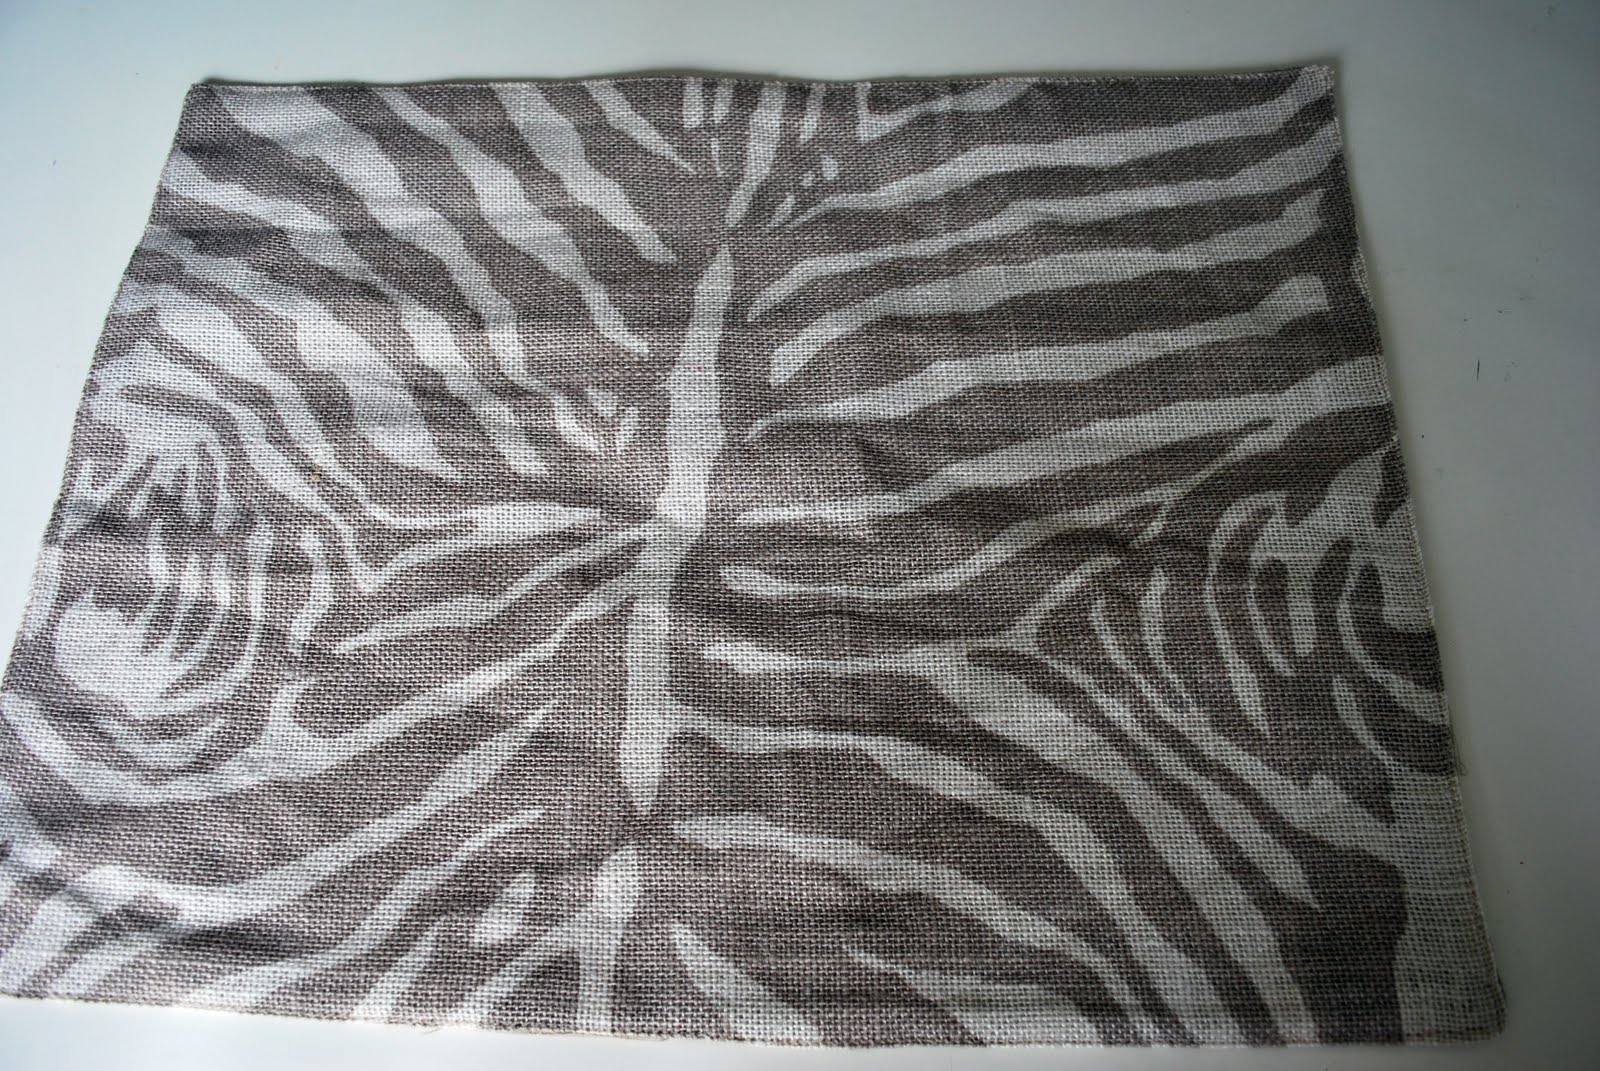
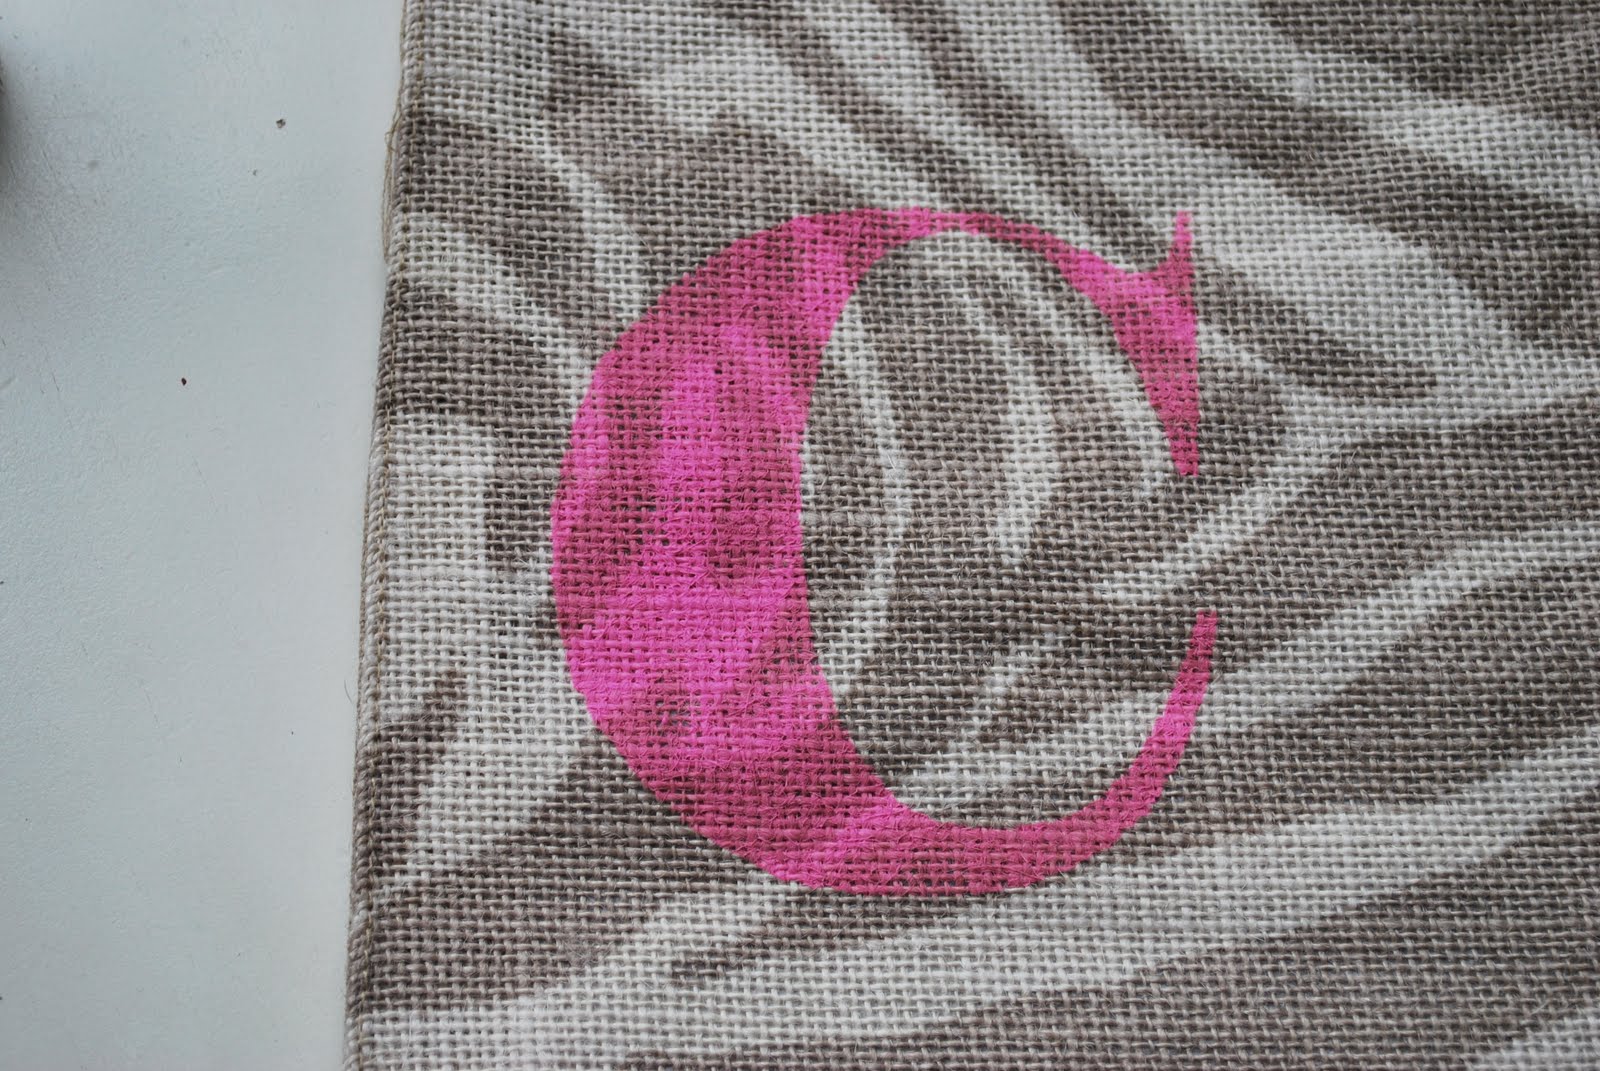
The first thing you will want to do is paint on the monogrammed letter. Before you do that you will need to make sure you know how far you are going to fold up the bottom for your pocket. I folded up about 5" and then marked it.

You will also need to measure approximately where the trifolds are going to be. This will tell you where the front is.

With the front marked and the "fold" marked (that will make the bottom edge of your carryall), you can use a stencil of your choosing. I used scrap vinyl to cut a stencil. You can pick a font you like and a size you want. I chose a traditional font in a pretty large type.

Very lightly apply 1-2 coats of acrylic paint, making sure not to push too hard so that the paint doesn't leak to the other side.
Once the paint has dried it is time to sew on the velcro. Pin your inside pocket up and in place. Then fold your carryall into thirds again.
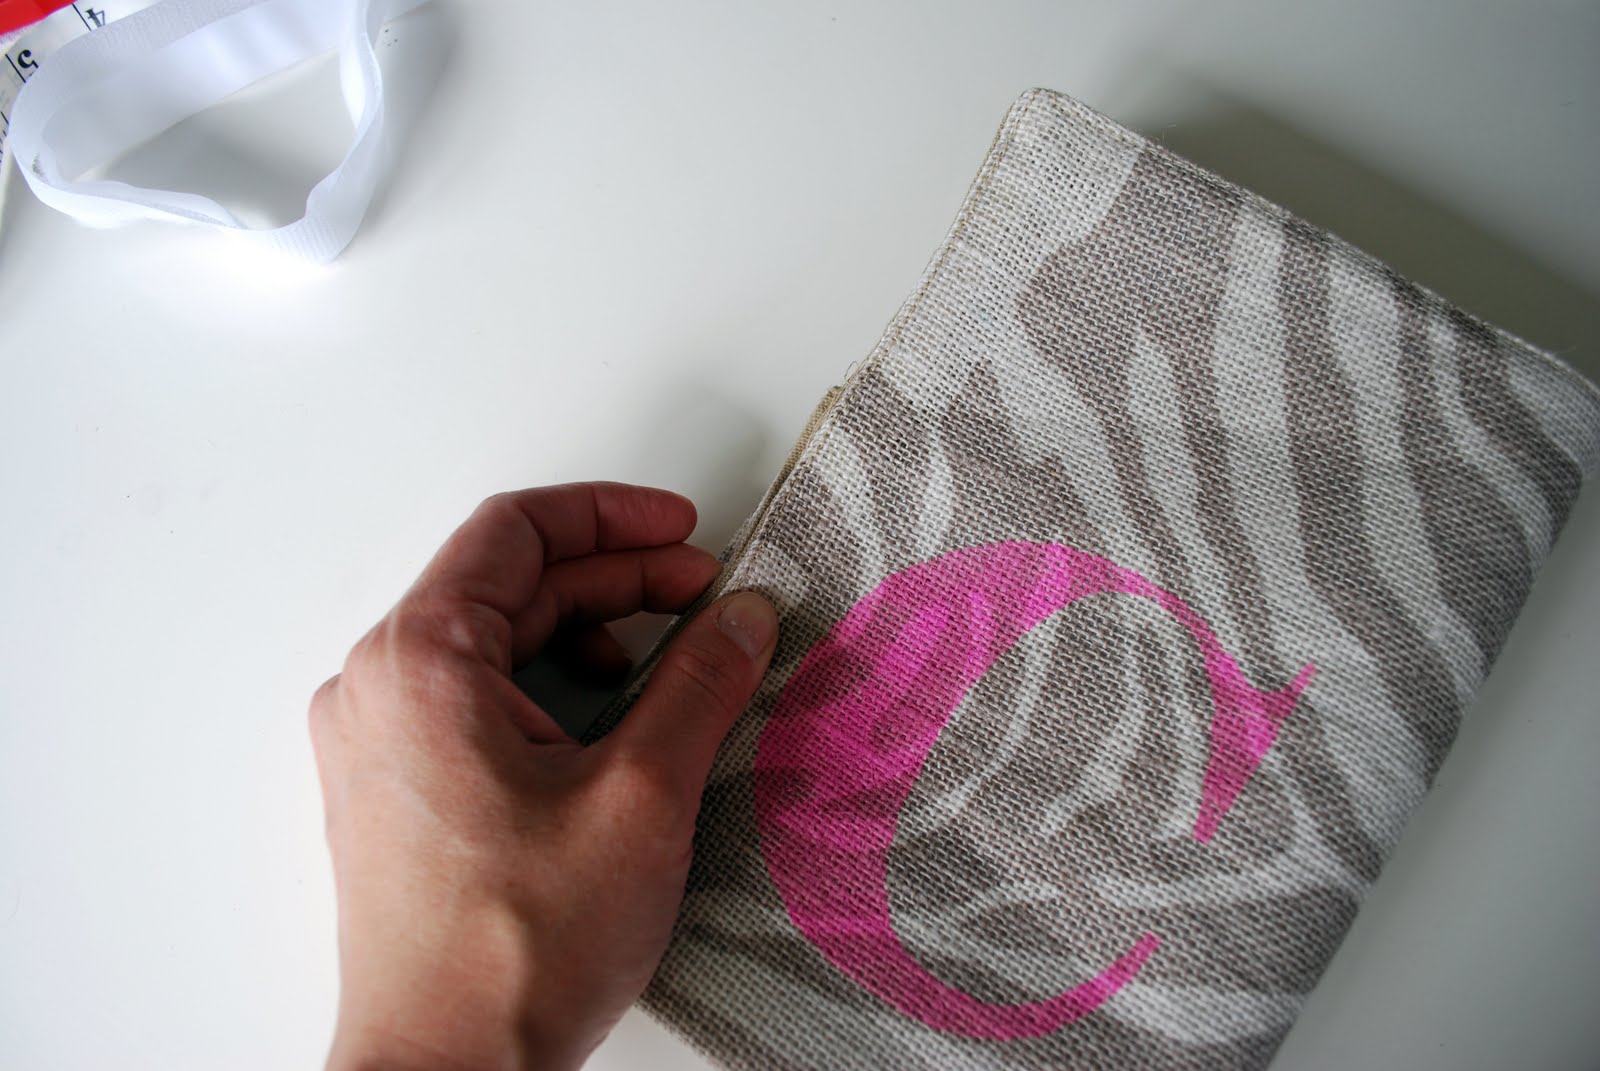
You will have two place marked for velcro. One on the inside pocket and one on the fabric of the trifold. Pin velcro in place. Unpin pocket and sew the velcro to the placemat.

Next I chose to add a decorative strip of ribbon. This is purely decorative. You can add it anywhere you would like. I simply pinned it in place on the unattached pocket and then sewed it in place along the top and the bottom edge of the ribbon.
Next it is time to secure the pocket in place. Pin the pocket in place.

To pin the pocket in place and add decorative stitching, start on the outside of the carryall, bottom corner...down by the monogram letter. Sew up the edge, securing the pocket on one side. Continue up the entire edge of the carryall, then over the top and then back down the other edge. Again securing the other side of the pocket. Stop stitching at the other bottom corner.

This is what the stitching will look like around the outside.

Now it is time to sew in smaller pockets. You will need to mark the width of the pockets to fit 1-2 diapers, 1 small wipes case, and 1 additional pocket. These pockets will be about equal in length and will match up with the trifold part of the carry all.

You will sew at each marker, starting at the top of the pocket and sew down to the bottom. You will sew twice, creating 3 pockets.
Now all you have to do is pack it with the essentials.
For me that was hand sanitizer...dirty diaper bags...
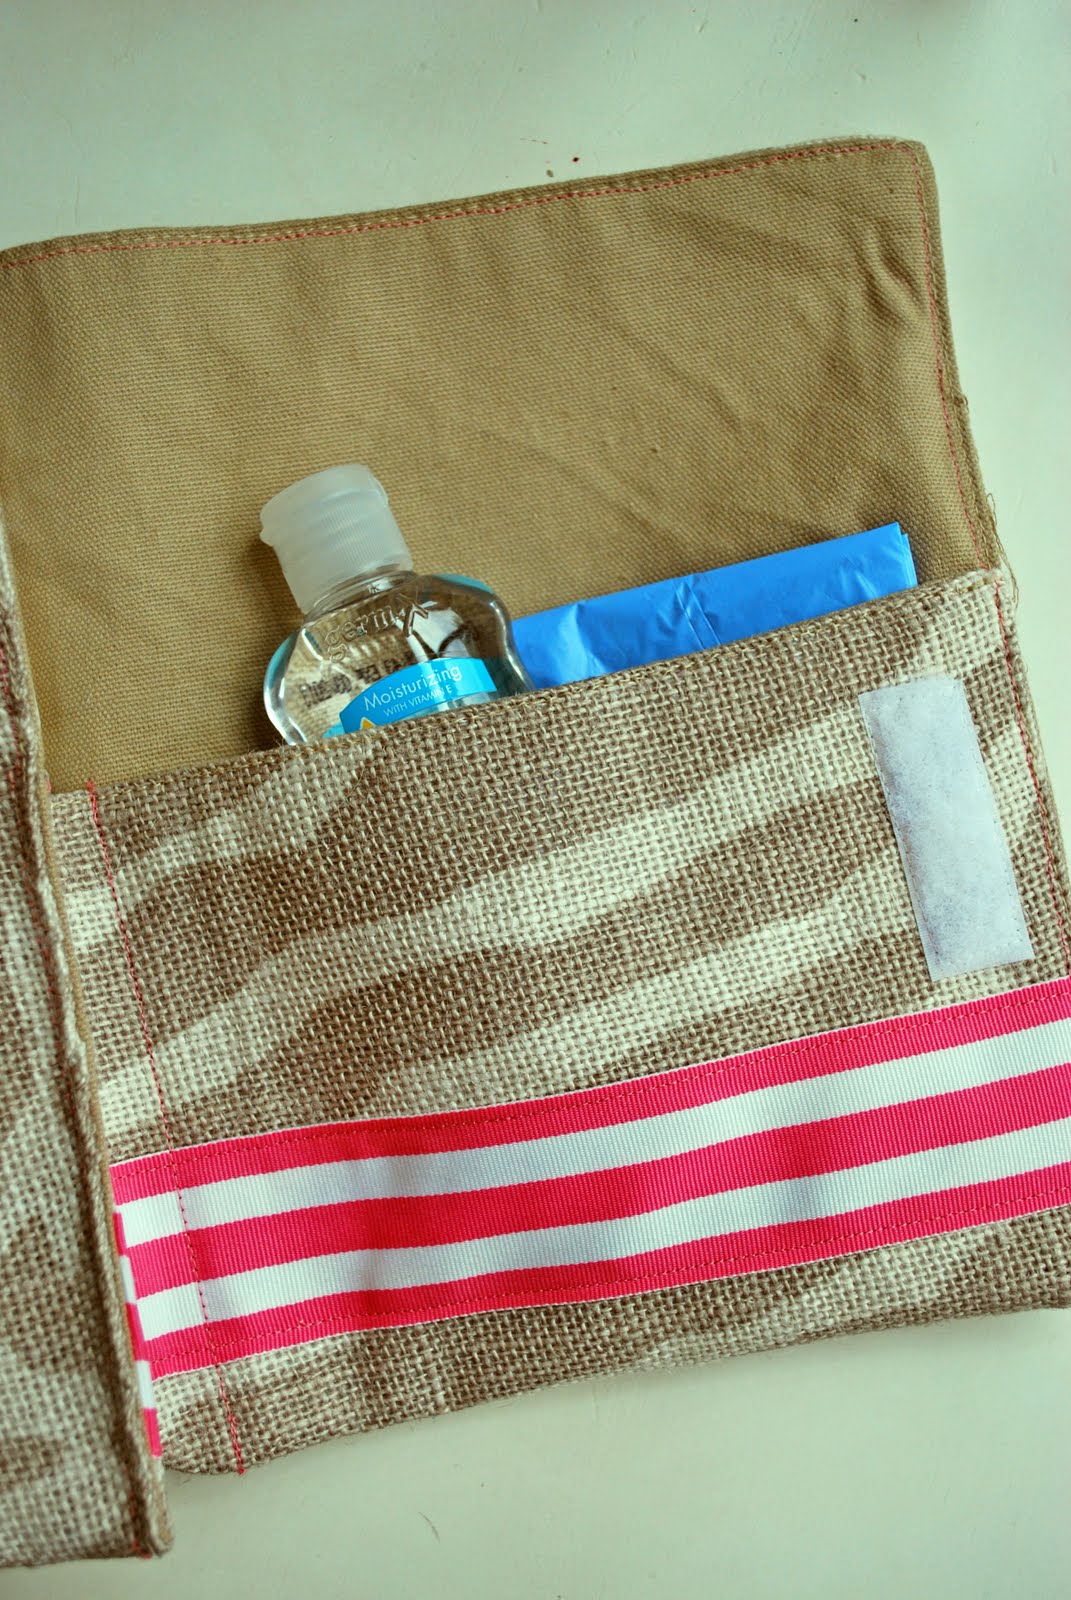
a couple of diapers...and a case of wipes.

Then all I have to do is fold it up and toss it in my non-diaper bag, oh-so-fabulous-giant-purse.

Look for this Change of Clothes Tote -the other part of my anti-diaper bag-
over at my blog tomorrow.


6 comments:
Love it!
Adorable and looks easy enough to make as a gift.
Just found your blog via Just Another Day in Paradise. Great guest post and project!
So adorable! What a great idea! Love the pink monogram! Thanks for sharing this with our readers!
So CUTE!
Lisa
www.pickfair.etsy.com
This is so handy and soo cute! I think I need to make one of these. Thanks for sharing with us today!
Post a Comment